Showing posts with label Big Munchkin. Show all posts

Tuesday, May 20, 2014

Tropical Bliss

My oldest is turning eight this summer.  Anybody who's been with me for very long knows that I love, love, love planning parties.  So this year I came up with some party ideas in advance and proposed them to my daughter.  (Yes it's self-centered, but I actually "pre-planned" the party-planning by poking around pinterest to find themes and entertainment that would be relatively easy to pull off.  And pull off in style.  After all, it can be a lot of pressure on a mom to put these things together.)

Anyhoo, as you might imagine, my daughter rejected every single one of my proposals.  So we were back at square one and all I could do was wait until my little diva made up her mind.  So I put my pinterest-surfing to rest and waited. We negotiated, and then I waited some more. 

Eventually my munchkin settled on a pool party centered around the movie Rio.  We were both happy.  She got her swimming, and I found a place other than my house to host it.  I also love the tropical theme, and it's fun that it's something other than a luau.  Brazilian music is pretty great, too, so at least we've got that covered.

This has turned out to be a really fun party to plan, but I must say that I have some stiff competition.  Since there is no official Rio partyware or decorations available, people have had to get creative.  And WOW have there been some great Rio parties!  

Here are some glimpses of my two favorites from around the web:


{An Australian party that can be viewed here.}


{This party took place in Brooklyn and can be found here.}


At this point I should probably point out what is probably already pretty obvious.  The party that I will actually be throwing for my daughter will be ~ dare I say it? ~ pretty regular.  You know, the usual.  Swimming, pizza, cake, and some fun music.  But the party I will be throwing in my imagination?  Now THAT party will be glorious.  Absolutely top-notch.  Don't you just wish you could come?

Wednesday, May 30, 2012

Party Season

We are now entering party season around here, and I couldn't be happier.  In addition to planning my munchkin's summer birthday party, I got myself mixed up in another little foodplay project.  My daughter's school has a spring auction to raise money for the school.  What did I donate?  Food, of course!  I offered to bake two dozen custom cupcakes, to be delivered to a lucky child's classroom, home, or birthday party.  It sounds like a fun little project, don't you think?
The only problem is that I'm not that experienced at baking cupcakes.  I have just about never baked fancy cupcakes.  (The fanciest I've ever gotten were little cakes baked in bug cupcake molds and piped with the simplest of frostings ~ whipped cream!)  So there was definitely some risk in promising so much.  Afterall, the word "custom" pretty much implies free license on flavor, color, and even theme.


I was relieved to hear that the purchaser of my little cupcake project isn't overly demanding.  Her daughter is having a unicorn party.  She selected a very specific cake flavor that will be easy to do, and I have free rein on color and how to interpret the theme.  But wait . . . I don't think I can draw a unicorn to save my life.  Amazon doesn't sell unicorn cupcake rings or other types of cupcake toppers.  (Although they sell lots of great ones in other themes.)  What to do, what to DO?!?

I turned to Etsy for inspiration, and now I need feedback.  Any thoughts on these cupcake toppers?  Any idea how I might come up with an equally fantastic diy version?  Any other tips or ideas on how to create a masterful unicorn cupcake?  I'm all ears.

'Unicorn Birthday' by appetiteforconvo

Inspiration for making unicorn cupcakes!


Bottle Cap Image Sheet ...
$1.75

Unicorn Happy Birthday...
$21.00

Rainbow Unicorn Birthda...
$4.75

Unicorn Cupcake Toppers
$0.75

Rainbow Unicorn - Cupca...
$5.95

18 Unicorn Theme - Cupc...
$18.00

Rainbow Unicorn Birthda...
$4.75

Cupcake Toppers "W...
$9.99

PRINT SALE Unicorn Cake...
$17.50


{Thank you to handmadeology for this etsy treasury posting tutorial.  I love that I can feature some of my Etsy faves without jeopardizing the legal rights of the individual artists.}

Thursday, May 17, 2012

When You Wish Upon a Star

My daughter's 6th birthday is coming up.  I like this time of year because anytime my daughter sees something that she wants I can tell her to put it on her birthday wishlist.  When I say this, my daughter seems to know that I mean it.  We don't negotiate back and forth about the fact that she really wants it now.  My daughter generally accepts that it's on her to remember to write it down if she really wants it.

Yesterday my daughter sat down and actually started her wishlist.  I got a phone call, so I didn't really pay attention to what she wrote.  This morning I found the list she had made, and my hubby and I had a really good laugh.  This list is like a little window into her 5-year old outlook on the world.  I'll leave it to you to interpret what on earth my big munchkin was thinking!


Any thoughts?

Friday, May 4, 2012

Munchkin Talk


It happened.  I don't know how it happened, but it happened.  My baby is no longer a baby.  She's no longer a toddler, or even a preschooler.  She's now a full-grown little lady.


I really miss her baby years, when I spent hours cuddling and rocking her in my arms.  And I confess, I kept that going absolutely as long as I possibly could.  We would have brief, but regular, mini cuddle sessions every morning before I scooted her off to preschool and me off to school or work.

So this morning I did my best to re-create that.  Lucky for me, my munchkin is always up for a hug or a cuddle.   Here's how it went down:

Me:  Morning, sweet-girl.  What are you doing awake already?
Munchkin:  Hi Mommy.  I was just playing.
Me:  Hey, I missed putting you to bed last night.  Wanna cuddle for a minute?
Munchkin:  Sure.
Me:  Here, climb in my lap.
[She tries, she really does.  I grunt and groan, then re-position.  Still, she can't quite make it onto my lap.  My daughter was probably thinking "awk-ward," which is her new favorite word.

Munchkin:  Mommy, there's no room.  How about if I just sit next to you and lean my head on your shoulder?
Me:  OK, I guess that'll work.
[We cuddle for a minute.]

Munchkin:  The baby's really big now, Mommy, isn't she?
[What she really means is, "Your belly looks gi-normous!"]
Me:  Yep, she keeps growing.

My munchkin is so excited to meet her baby sister, who is set to arrive in August.  I am too, of course.


In the meantime, I'm trying to soak up as much time with her as I can.  Soon I'll have a big munchkin and a little munchkin to share stories about.

Thursday, May 3, 2012

Baking for a Cause

I just completed a project that I'm really proud of.  For several years I've been inspired by the commercials on the food network about Share Our Strength's work to end childhood hunger.  Share Our Strength started a campaign encouraging people to hold bake sales to raise money  for their organization.  I've long wanted to host one myself.  Why?  Because it's a great cause, and I've always loved bake sales.  Bake sales remind me of the many summertime lemonade stands I held as a kid.  And nostalgia is a very powerful thing!


Share Our Strength has a great website with tons of resources to make hosting a bake sale easier.  So I signed up on their website and got started.  As it turned out, my daughter's kindergarten class needed to come up with what they call a "leadership project" for this quarter.  (Basically, they are supposed to learn about something as a class and present it to the rest of the school.)  My bake sale idea became this year's leadership project.

I worked with the kindergarten teachers to get the project up and running.  We wanted to keep the bakesale simple and pretty small scale, so we decided to sell treats to the school on a Friday afternoon when the school would normally sell ice cream.  The ice cream costs $1, so we decided we'd sell our treats for $1.  We limited the bake sale to brownies and rice krispie treats to keep it simple, and then I solicited volunteers via email to bake some treats for us.  I also used some of the tools on the Share Our Strength website to make a flier about the event.  

Next the kindergarten students made a poster advertising their bake sale, and they put together a presentation explaining what they were doing.  They went from classroom to classroom giving the presentation in small groups.  Then they handed out the fliers I had made to all the students in the school.  They were clearly very proud to be helping out other children.

Did you know that nearly 1 in 5 children suffer from hunger in the United States?  I thought that was a shocking statistic.  We put that fact on our fliers, and it definitely got people's attention.  The bake sale happened last Friday, and we raised just over $250!!!  I was amazed at how successful our little project was.  The students were so excited for their Friday afternoon treat.  And I was so impressed with how generous they were, too.  Many of them put $2 in the basket and then only took one treat.  In the end this bakesale was at least as fun as my childhood lemonade stands. 


By the way, my daughter pretty much made the rice krispie treats herself.  I always forget how easy (and yummy!) rice krispie treats are.  All you really have to do is melt the butter and marshmallows and then stir, stir, stir.  Plus, it's always fun cooking with kids. 


All in all, this project was a great experience that left me feeling so inspired.  My hope is that I will continue to find ways to be involved with Share Our Strength.  It really pains me to think about kids feeling hungry right here in this wealthy nation we live in.  So . . . if you're looking for a summer project to do with your kids, or you've been wanting to find a way to give back to your community, I definitely recommend hosting a Share Our Strength bakesale.

 http://join.strength.org/site/TR?fr_id=1190&pg=entry

Tuesday, February 14, 2012

Valentine's Day 2012

This year my daughter and I planned ahead for Valentine's Day.  She was supposed to take some treats to share at her school party, so we pulled out an old favorite and updated it.  A few years ago we made pretzel sticks dipped in chocolate and fancy Valentine sprinkles.


This year my little munchkin decided that the traditional pretzel shape is so much more appropriate because it looks like a heart.


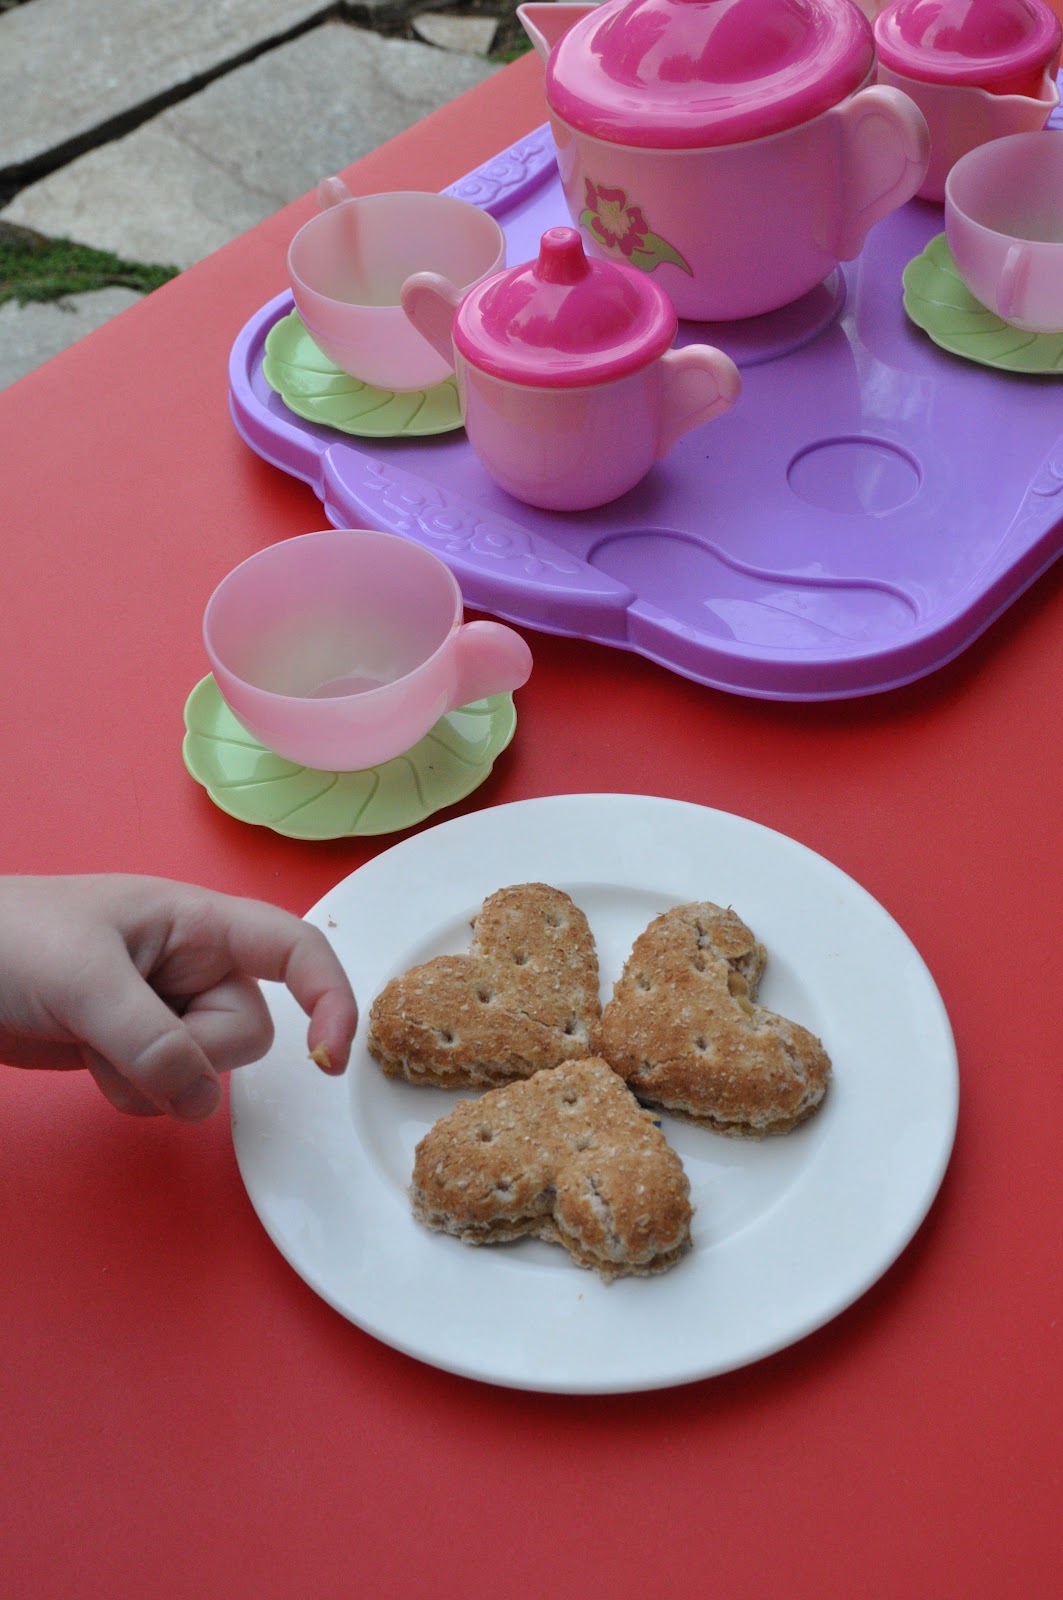
This morning she headed to school with a tray full of treats to share with her friends and teachers.  She probably doesn't know it yet, but I also sent her some of these peanut butter sandwich hearts for her snack.  Cute, right?


But back to the pretzels . . .  If you feel like sharing some chocolate with your honey (big or small), these are super easy to make.


Chocolate Covered Pretzels
  • 1 tsp. canola oil
  • 1 cup chocolate chips (I prefer dark chocolate)
  • About 35-40 pretzels  (I used lightly salted)
  • Sprinkles

Place the oil and chocolate chips in a microwave-safe bowl, and put the bowl in the microwave.  Microwave on high for forty-five seconds, then stir well.  Repeat several times until the chocolate is completely melted.

Add several pretzels at a time to the bowl, submerging them in the chocolate.  Lift the pretzels out one at a time with a fork.  Place the pretzels on a cooling rack sitting over a tray so that the excess chocolate can drip off.  Sprinkle the pretzels with sprinkles, if using, within a few minutes while the chocolate is still moist.

Once your tray is full, place it in the fridge for about 30 minutes to set.  After the chocolate has hardened, carefully lift each pretzel off the rack one-by-one by reaching underneath the pretzel with your fingers and gently dislodging it from the rack.  Be careful as you do this last step, as some of the pretzels may break.  (I made extra for this reason.  We kept the broken ones to munch on at home and sent the pretty ones to share at school.)

Sunday, December 12, 2010

Meatless Mondays: More on Muffins

{Photo from here}

In the last few weeks I've mentioned my (and my preschooler's!) new love for hearty muffins as an afternoon snack. This muffin started it all. The recipe calls for peanut butter to replace some of the butter. It is sweetened with maple syrup and chocolate chips. And they are made with whole wheat flour. These are more than your average muffin because the peanut butter and whole grains really boost the protein and fiber.

Oh, and did I mention how yummy they are? The chocolate chips poking out of the top of the muffins entice my daughter every time. We have some in our freezer now!

Monday, November 29, 2010

Meatless Mondays: Pack it in


Back when I was pregnant with my daughter I started to keep track of how much protein I ate just to be sure I was getting enough for the both of us. I quickly realized that it's hard to eat enough protein in just one or two vegetarian main dishes. But there are many foods that you wouldn't ordinarily think of that have a good dose of protein. Whole grains are one of the easiest "alternative" sources. Once I started counting every whole grain slice of bread and every spoonful of brown rice, the protein really added up quickly.

If you want to feel full during a day of meatless eating, then pack in the protein. Afterall, every ounce of nutrition counts. And what better way to enjoy some nutrition than in a muffin. That's right, a muffin. My daughter loves them, so I try to find recipes withextra protein or vitamins without too much sugar. She and I both have them for afternoon snacks. Or breakfast. Or a midnight snack. Or dessert. You get the idea ~ when you look this similar to a cupcake, what's not to love?

I can't wait to share some recipes soon.

Thursday, August 19, 2010

It started with nail polish . . .


A few nights ago my hubby and I decided to go out for a fancy dinner with our daughter in tow. It was a huge success. The secret was a little nail polish, capturing our daughter's interest by calling it a "princess feast," and ending the dinner with some really, really good ice cream. I can't wait to share more from our Maui adventure! We just got back, so I'm very jetlagged right now. . .

Friday, August 6, 2010

Fun With Ola

Last weekend I was looking for a fun cooking project to do with my daughter. We were in the mood for something sweet, but I was hoping to avoid heating up the house with the oven. I showed my daughter a picture of homemade granola bars. Then she launched into this extended story about how her preschool friend Emily likes ola bars with chocolate chips and how her other friend Maria likes ola bars only sometimes.

Since we almost never eat granola bars around our house, this was the first time I had heard my daughter call them "ola bars." She was dumbfounded when I explained that they are actually called "granola bar." So cute!

In the end we did make a batch of granola bars. Truthfully these are somewhat of a cross between granola bars and Rice Krispie treats. They don't have granola in them, and they aren't baked like homemade granola. But they do have the flavor of granola bars with some of the same treats you would expect mixed in ~ dried fruit and chocolate chips. The cereal is more like over-sized Rice Krispies, similar to what rice cakes are made of, and I found it in bags with all the other cereals.


It was a super fun project ~ easy, very child-friendly, and SO tasty. The first time I made these I followed my penpal Emily's recipe, then last weekend I used another variation. My version is a little less sweet than the two recipes I looked at.


~~~~~~~~~~~~~~~~~~~~~~~~~~~~~~

Peanut Butter "Ola" Bars
  • 3 cups crispy rice cereal
  • 3 cups crispy kamut cereal or toasted oat cereal
  • 1 cup dried cranberries (or other small dried fruit)
  • 1/2 regular raisins
  • 1/2 cup sunflower seeds
  • 1 cup honey
  • 1 16 oz jar natural peanut butter (creamy or chunky)

Spray a 9 x 13 baking pan. Combine the cereals, raisins, and sunflower seeds in a large bowl. Place the peanut butter and honey in a microwave safe bowl and microwave briefly to soften the mixture, then stir well to combine. Pour over the cereal mixture, then mix well. Press the combined mixture into the prepared pan. Cool, cut into squares or bars, and serve.

Friday, June 25, 2010

Bye, Mom!

"Bye, Mom! I'm off to the grocery store. . ."

Wednesday, June 16, 2010

Rocky


What a day! I am currently studying for the California bar exam, so pretty much every day is the same. I go to class, then I come home and study. Usually. Today was a little different.

First, class let out early. Very early. I decided to use the extra time to study so that I would have more family time this evening. Around 1:00 I got a call from my daughter's preschool teacher. She launched into a story about what they had been doing today. They were outside, then they came inside, then the kids laid down to rest, then. . . blah, blah, blah. . . and then my daughter walked over to the teachers and announced that she had a rock in her nose. That's right, a rock. In her nose. Deep inside her tiny, beautiful nose. A ROCK!!!

I was stunned.

It was clear that the teachers had no idea what to do, so I headed over to pick her up. She wasn't bleeding. She didn't seem to be in pain. Her only symptoms were that her voice sounded slightly funny and her nose was bulging a bit. Oh, and when you looked up her nose there sat the rock. (Still stunned, by the way!)

I made one feeble attempt to get it out with tweezers, but this mission was clearly way beyond me. Since she couldn't seem to blow it out, we headed to the doctor's office. My daughter seemed downright excited to visit the doctor. As I checked her in, she hopped about from one toy basket to another in the waiting room. Eventually I warned her to settle down so that she didn't knock the rock any deeper. Then I looked. The bouncing had actually knocked the rock a little lower. I ran for a tissue, and then had my daughter blow her nose as hard as she could. Once, and then again.

Suddenly my daughter took a big breath. Her expression changed. We both looked down, and there in the tissue was a giant black rock. This thing was enormous ~ a mini-boulder of sorts. OK, so really it was about the size of a marble. But it felt enormous in my hand. I remained stunned.

The doctor gave her a quick check and sent us on our way. Since then we've talked about NOT putting rocks, wood chips, bugs, or sticks anywhere they shouldn't go. We've discussed why my daughter decided to try it today. (She says she was playing. Sounds like fun, right?) We've even lectured the cat about why she shouldn't put things in her nose either. Once my hubby got home, he's been referring to our daughter as "Rocky" and humming the Rocky theme song under his breath.

One way or another I think she's gotten the message. And I'm still stunned.

Tuesday, April 20, 2010

Tea Inpired

After all the tea parties I've been to recently, both big and small, I've decided to become re-acquainted with the sandwich. I've never loved sandwiches. At least, not as a daily thing. But I definitely recognize that there are some darn good sandwiches out there. Tea sandwiches are some of the cutest, so I decided to start my sandwich kick with a tea-inspired sandwich spread.

This spread turned out great. I would recommend it for a party dip served with veggies or pita chips for dipping. It's good on focaccia bread with fixins, as pictured here.


It's also good as a wrap or as a simple but elegant tea sandwich. I know all of these statements are true because this recipe makes A LOT! Beware...


I should also mention that I've made a lot of roasted veggies in my day.


I find that the quickest and neatest way to toss them with olive oil is to use your {superbly clean} hands. Really ~ just get down and dirty. It works especially well if you have cute little hands like these:


I love having a little helper in the kitchen!

~~~~~~~~~~~~~~~~~~~~~

Roasted Eggplant Spread
Inspired by Ina Garten
  • 1 medium eggplant
  • 2 red bell peppers, seeded
  • 1 red onion, peeled
  • 4 garlic cloves, minced
  • 3 tablespoons good olive oil
  • 1 1/2 teaspoons kosher salt
  • 1/2 teaspoon freshly ground black pepper
  • 1 can canellini or white kidney beans, drained and rinsed

Preheat the oven to 400 degrees F.

Cut the eggplant, bell pepper, and onion into 1-inch cubes. Place them on a baking sheet, then toss by hand with the garlic, olive oil, salt, and pepper. Roast for 45 minutes, until the vegetables are lightly browned and soft, turning once during cooking.

Cool slightly.

Place the vegetables in a food processor fitted with a steel blade, add the drained beans, and pulse to blend. Taste for salt and pepper.

Monday, April 12, 2010

Semi-Secret

I've been getting questions, so I guess it's time to tell you a bit more about my SUPER SECRET PROJECT. Now I'm calling it a SEMI-SECRET PROJECT, but there are still many details yet to be revealed.

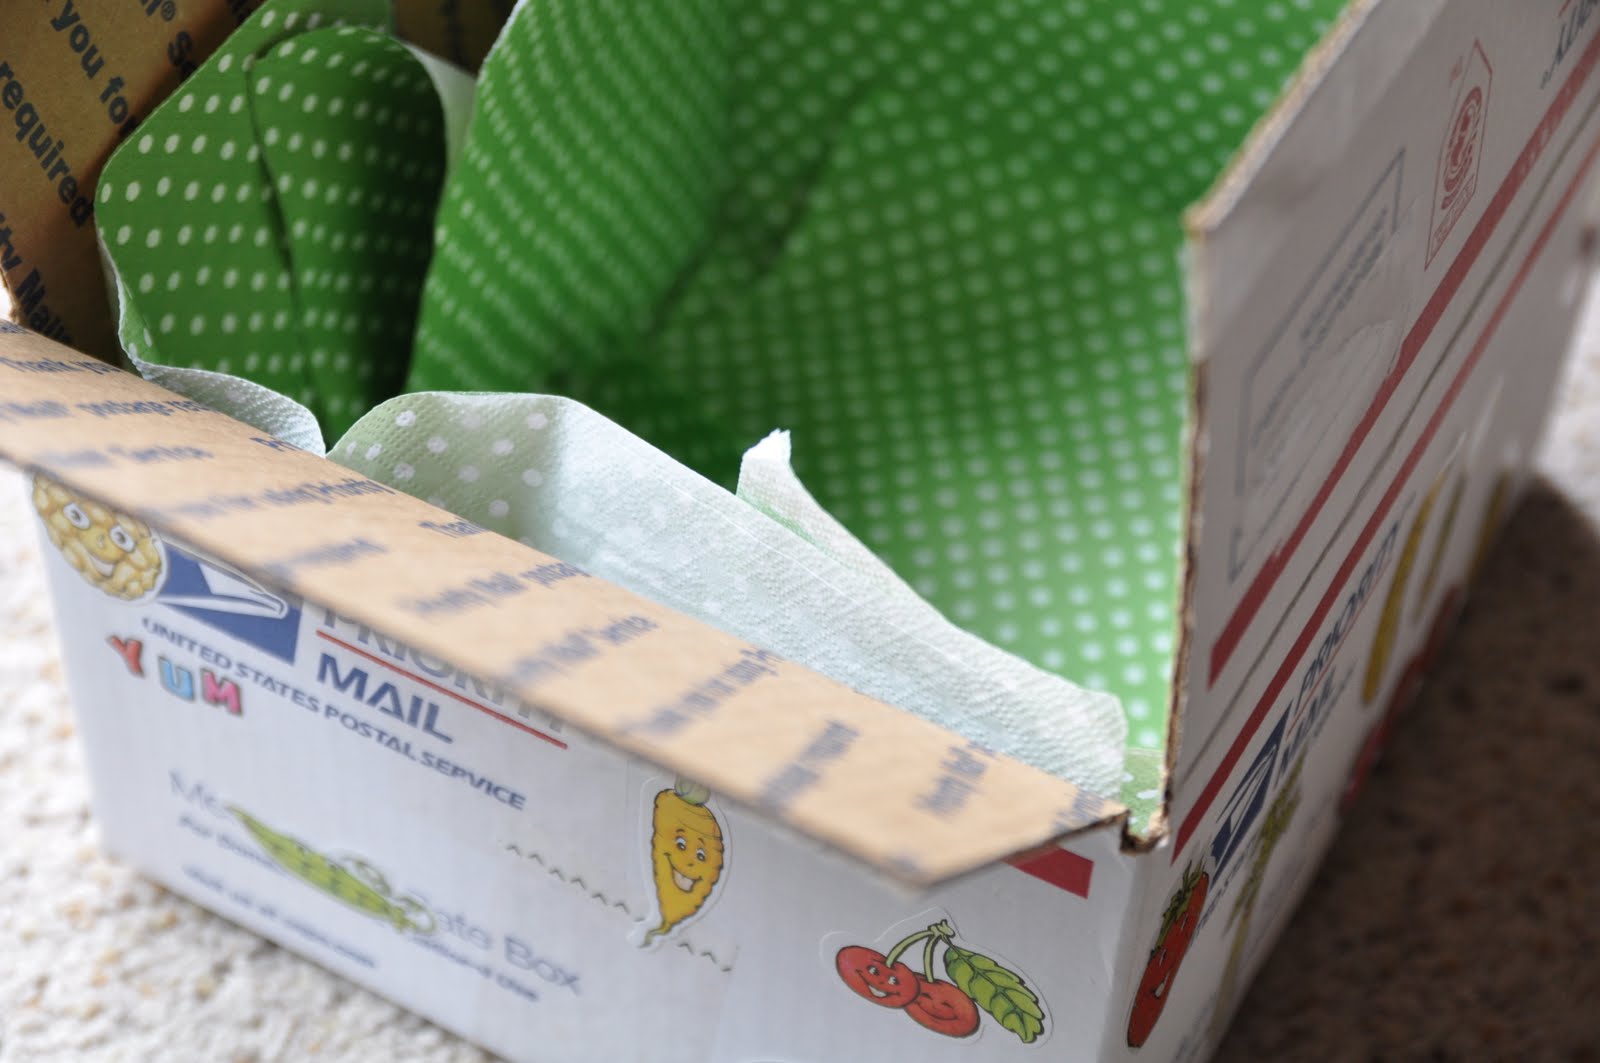
As I already mentioned, this project involves a pen pal. My toddler and I worked on getting this box ready to ship to her.


My toddler made sure that it would arrive in style. She pulled out her fruit and veggie stickers, and she placed each one in the perfect spot.


And she kept reciting what each of the stickers was ~ "This is corn." "This is eggplant." It was super cute because the next day she had a blast identifying all the fruits and veggies in person at the grocery store. She was unbelievably excited about it all!


I lined the box for my pen pal with a little color. Now it's ready to be filled.


Any guess what went inside? I might tell you soon. But then I guess I can't call it a SEMI-SECRET project anymore.

Saturday, April 3, 2010

Why I Love Spring

~The swish of pretty spring dresses~


~The sunny flowers my hubby brings home~


~The tea parties~

Tuesday, March 9, 2010

Get Your Sauces Ready

It's dipping time!

Recently my toddler has stopped liking cheese very much. This is unfortunate, since cheese sandwiches and cheese quesadillas have been a staple around here for a while. So I have reinvigorated my efforts to find alternative protein sources for her. I've turned once again to the tofu puzzle. This time I may have really solved it, too.


Each time I've made these nuggets they have disappeared from the plate in half the time I expected. They are perfect for dipping. We've tried Bittman's barbecue sauce and ranch dressing, but I can't wait to try a good marinara or blue cheese dressing. Definitely report back if you discover some good combos.

The best part is that the recipe couldn't be simpler.


Tofu Nuggets
Adapted from Nava Atlas
  • 1 lb. block extra firm tofu (I like the locally made Sacramento Company)
  • 1 Tbsp. olive oil
  • 2 Tbsp. wheat flour
  • 2 Tbsp. cornmeal
  • 1 Tbsp. grated parmesan
  • 1/2 tsp. Paprika
  • 1/2 tsp. sea salt
  • Pepper to taste
Preheat oven to 425 degrees. Lightly oil a nonstick baking sheet. Cut the tofu crosswise into 1/2-inch thick slabs and blot with a paper towel to remove moisture. Cut each slab into 1/2-inch by 1-inch nuggets.

In a shallow baking dish gently toss the tofu in the oil. Mix the other ingredients in a small bowl, then sprinkle over the tofu. Toss gently some more, until the nuggets are well coated.

Arrange in a single layer on the prepared pan. Bake 15 minutes, then turn carefully and bake another 10 minutes, or until golden and firm. Serve with the sauce of your choice.

Saturday, March 6, 2010

Eating Rainbows

Recently I led the morning circle at my daughter's preschool, hoping to teach them their fruits and avoid the situation in Jamie Oliver's video. Here are the basics of what I said:

Me: Do you like food?
Preschoolers: Yeah!
Me: Do you like rainbows?
Preschoolers: Yeah!
Me: Do you like to eat rainbows?
Preschoolers: Wah?
Me: Did you know that it's healthy to "eat rainbows"? And why do children want to be healthy?
Preschoolers: So that they don't get sick and they grow big and strong.
Me: Well, one way to make yourself more healthy is to eat every color of the rainbow.

We talked about all the different-looking fruits that are out there. Then we made our very own rainbow smoothies. I put several colors of fruits in a blender and blended it up to see what color the smoothie became. And finally, we all tasted.


It was a great experience, and I think everybody was pretty excited about it. I literally made smoothies until I ran out of fruit. Before I knew it I had passed out smoothie samples and recipes to all of the teachers in the school. And this is still posted on the classroom bulletin board:


~~~~~~~~~~~~~~~~~~~~~~~~~~~~~~~~~~~

Make Rainbow Smoothies at Home

You’ll need:
  • 2 cups of orange juice
  • ½ cup yogurt (optional, any flavor)
  • 1 banana, broken in half
  • 16 whole frozen strawberries
  • 2 handfuls frozen blueberries
  • 1 handful frozen peach slices

Place all ingredients in your blender bowl. Pulse until the large pieces of fruit have broken up, then blend until smooth. Stir once or twice, and add more liquid if the blender has trouble breaking up the frozen fruit.

~~~~~~~~~~~~~~~~~~~~~~~~~~~~~~~~

So tell me, do you eat rainbows? If not, you just might try!

Wednesday, March 3, 2010

On Plastic Fruit

"I now have a cooler full of plastic fruit, OJ, and yogurt. Curious what I'm up to?"

This is what I recently posted on Twitter. I think it's time to explain the mysteries of my ways.

{Available here}

While I've got nothing on Jamie Oliver, I DO care about healthy eating. When I watched his video last week, I was alarmed at the fact that schoolchildren didn't recognize ordinary fruits and vegetables. (If you haven't watched it, jump to minute 11.) As a mom and a former teacher, I was pretty horrified.

The problem as I see it is that much of the food we see in grocery stores and on our plate doesn't even resemble real food anymore. So when the child on the video saw a tomato in front of him he saw a strangely shaped item. I'm sure he had eaten ketchup in the last 48 hours, but he had no idea where the ketchup came from. Another child had no idea that a potato was a potato, probably because he didn't know that French fries are actually made from something else.

How can we expect Americans to make better eating choices when they have no idea what real food is? How can they understand nutrition when they don't understand the basics of how food is cooked or meals are assembled?

Clearly this problem is bigger than me, but I wanted to do something. So I did. I went to my toddler's school with a cooler full of plastic fruit, yogurt, orange juice, fresh bananas, frozen fruit, and a blender. My goal was to make sure that my daughter's class knew their fruits. And they do now. I'll tell you what I said soon.

Thursday, February 25, 2010

Fun with Pumpkin

A few nights ago I was wandering the grocery store, realizing that I hadn't really planned what to cook for dinner. I happened to be in the canned food aisle, and I spotted pumpkin. I love pumpkin. And I particularly love pumpkin in savory dishes, although I don't cook with it very often. I decided to experiment with a new quesadilla, and it's definitely worth sharing. Even my toddler liked it!

The version I made here is a hearty quesadilla, perfect for a meal. I froze a bunch of them and have been packing them for lunch. You could easily make this a thinner, appetizer-style quesadilla by spreading out the filling over more tortillas. I would keep the cheese to at least 1/4 cup per tortilla.


Bean & Pumpkin Quesadillas
Serves 4-6
  • 1 Tbsp. olive oil
  • 1/2 a large onion, diced
  • 3/4 tsp. cumin
  • 1 tsp. chili powder
  • 1/2 tsp. salt
  • Freshly ground pepper to taste
  • Dash of cayenne pepper
  • 1 can pumpkin puree
  • 1 can black refried beans (I like the consistency of Amy's beans)
  • 2 cups shredded cheese (preferably a Mexican blend)
  • 8 medium tortillas
Heat the oil in a medium saucepan and saute the onion until softened, about 5 minutes. Add the cumin, chili powder, salt, pepper, and cayenne, then saute another 2-3 minutes. Add the pumpkin to the pan and stir. Warm slightly.

Spread some beans (no more than 1/4 cup) over half of each tortilla, then spread a similar amount of the pumpkin mixture over the other half of the tortilla. Top the beans with 1/4 cup of shredded cheese. Fold in half, then transfer the quesadillas to a skillet or griddle pan. Cook in batches over medium heat until golden brown, about 4 minutes per side.
Related Posts with Thumbnails

  © Blogger template 'A Click Apart' by Ourblogtemplates.com 2008

Back to TOP