The only problem is that I'm not that experienced at baking cupcakes. I have just about never baked fancy cupcakes. (The fanciest I've ever gotten were little cakes baked in bug cupcake molds and piped with the simplest of frostings ~ whipped cream!) So there was definitely some risk in promising so much. Afterall, the word "custom" pretty much implies free license on flavor, color, and even theme.

I was relieved to hear that the purchaser of my little cupcake project isn't overly demanding. Her daughter is having a unicorn party. She selected a very specific cake flavor that will be easy to do, and I have free rein on color and how to interpret the theme. But wait . . . I don't think I can draw a unicorn to save my life. Amazon doesn't sell unicorn cupcake rings or other types of cupcake toppers. (Although they sell lots of great ones in other themes.) What to do, what to DO?!?
I turned to Etsy for inspiration, and now I need feedback. Any thoughts on these cupcake toppers? Any idea how I might come up with an equally fantastic diy version? Any other tips or ideas on how to create a masterful unicorn cupcake? I'm all ears.
'Unicorn Birthday' by appetiteforconvo
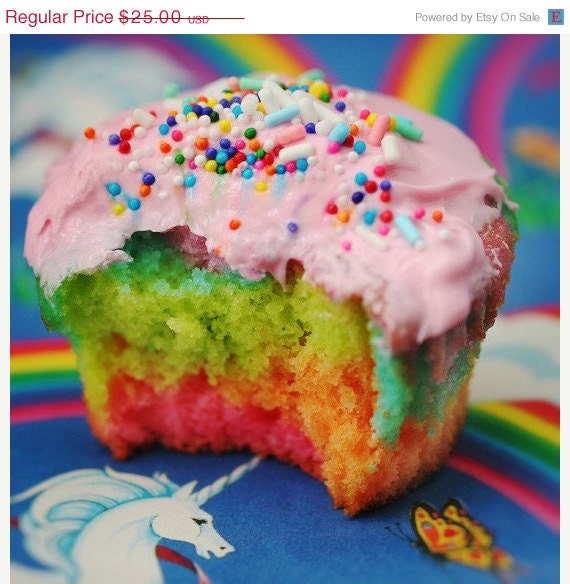
Inspiration for making unicorn cupcakes!
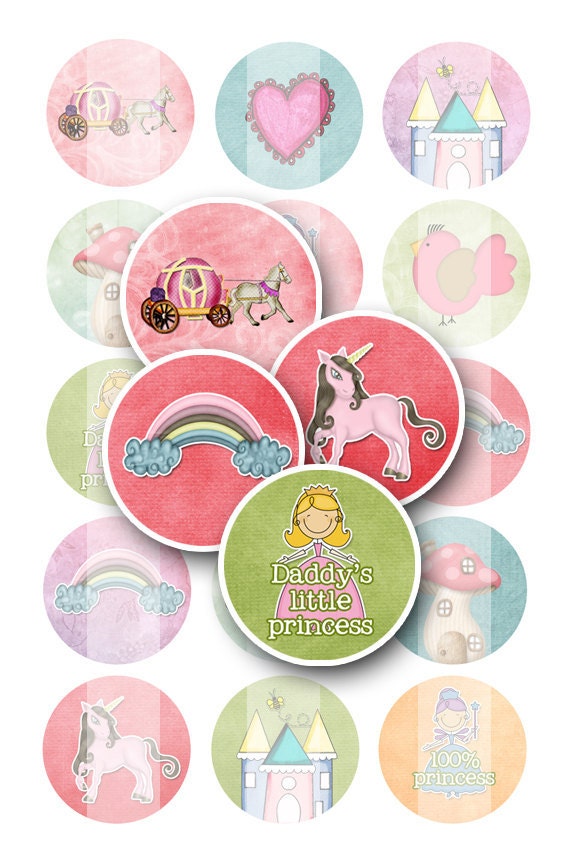 Bottle Cap Image Sheet ...
$1.75
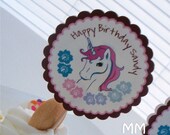
| 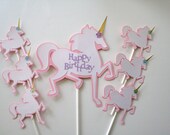 Unicorn Happy Birthday...
$21.00
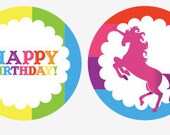
|  Rainbow Unicorn Birthda...
$4.75
|
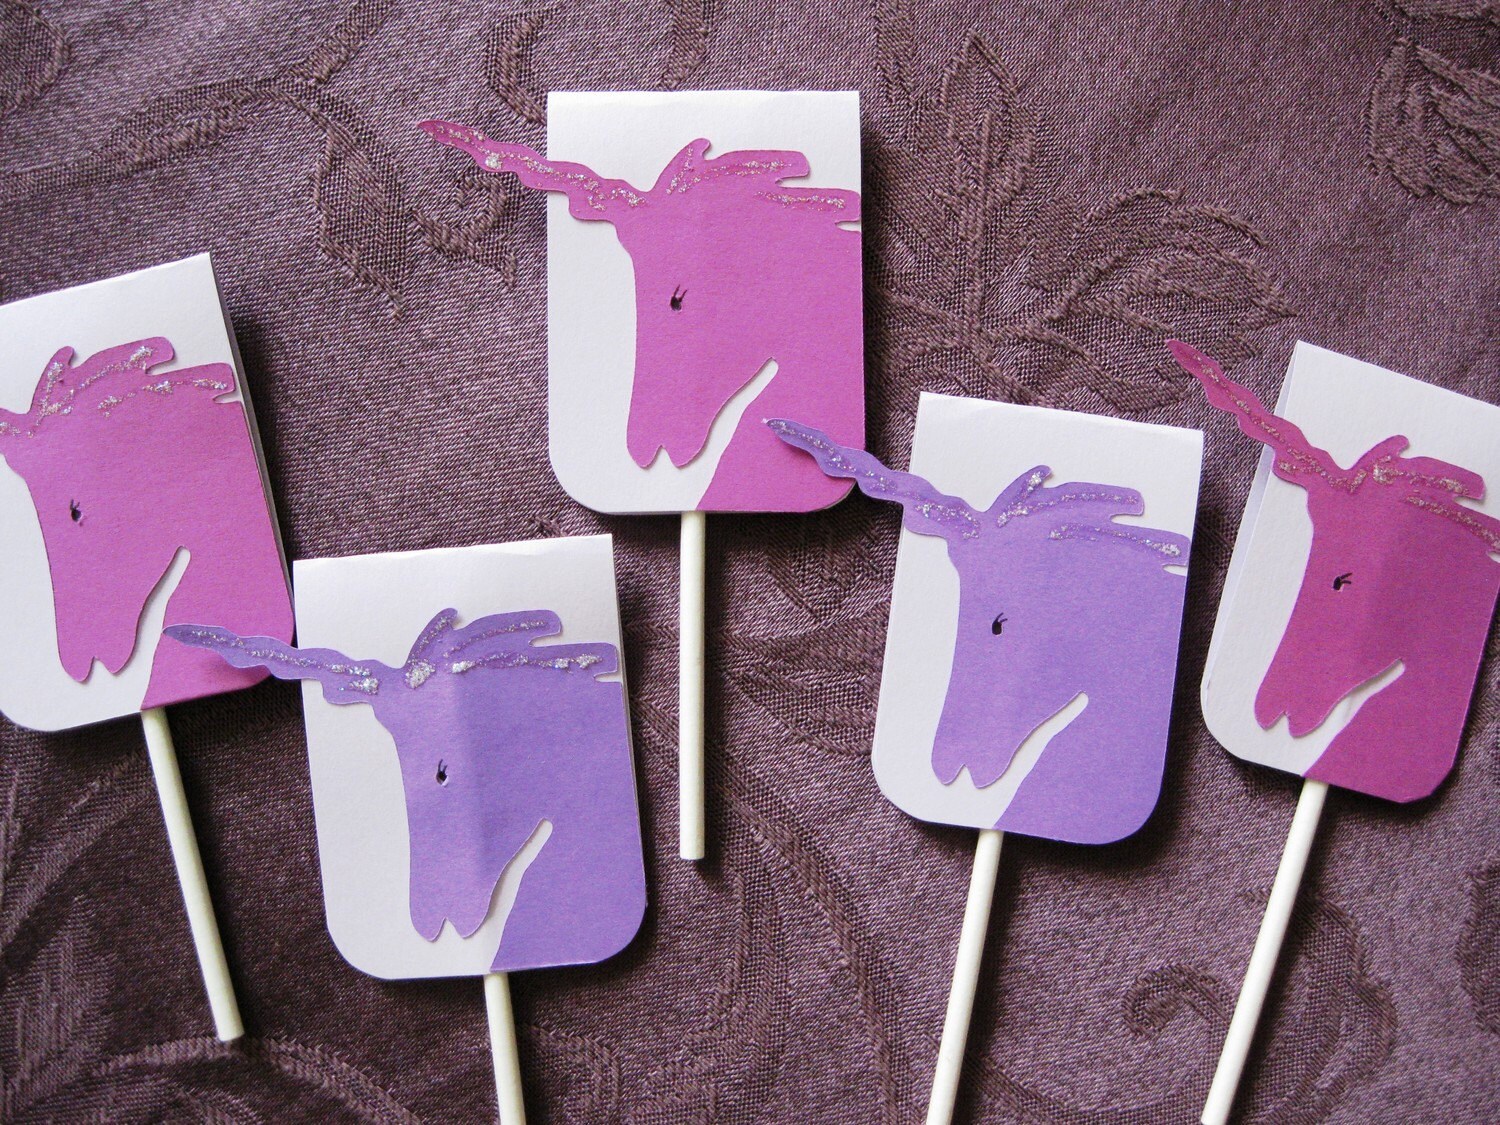 Unicorn Cupcake Toppers
$0.75
|  Rainbow Unicorn - Cupca...
$5.95
|  18 Unicorn Theme - Cupc...
$18.00
|
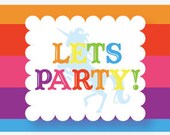
 Rainbow Unicorn Birthda...
$4.75
|  Cupcake Toppers "W...
$9.99
|  PRINT SALE Unicorn Cake...
$17.50
|
Treasury tool supported by the dog house
{Thank you to handmadeology for this etsy treasury posting tutorial. I love that I can feature some of my Etsy faves without jeopardizing the legal rights of the individual artists.}