Showing posts with label Snacks. Show all posts

Tuesday, February 14, 2012

Valentine's Day 2012

This year my daughter and I planned ahead for Valentine's Day.  She was supposed to take some treats to share at her school party, so we pulled out an old favorite and updated it.  A few years ago we made pretzel sticks dipped in chocolate and fancy Valentine sprinkles.


This year my little munchkin decided that the traditional pretzel shape is so much more appropriate because it looks like a heart.


This morning she headed to school with a tray full of treats to share with her friends and teachers.  She probably doesn't know it yet, but I also sent her some of these peanut butter sandwich hearts for her snack.  Cute, right?
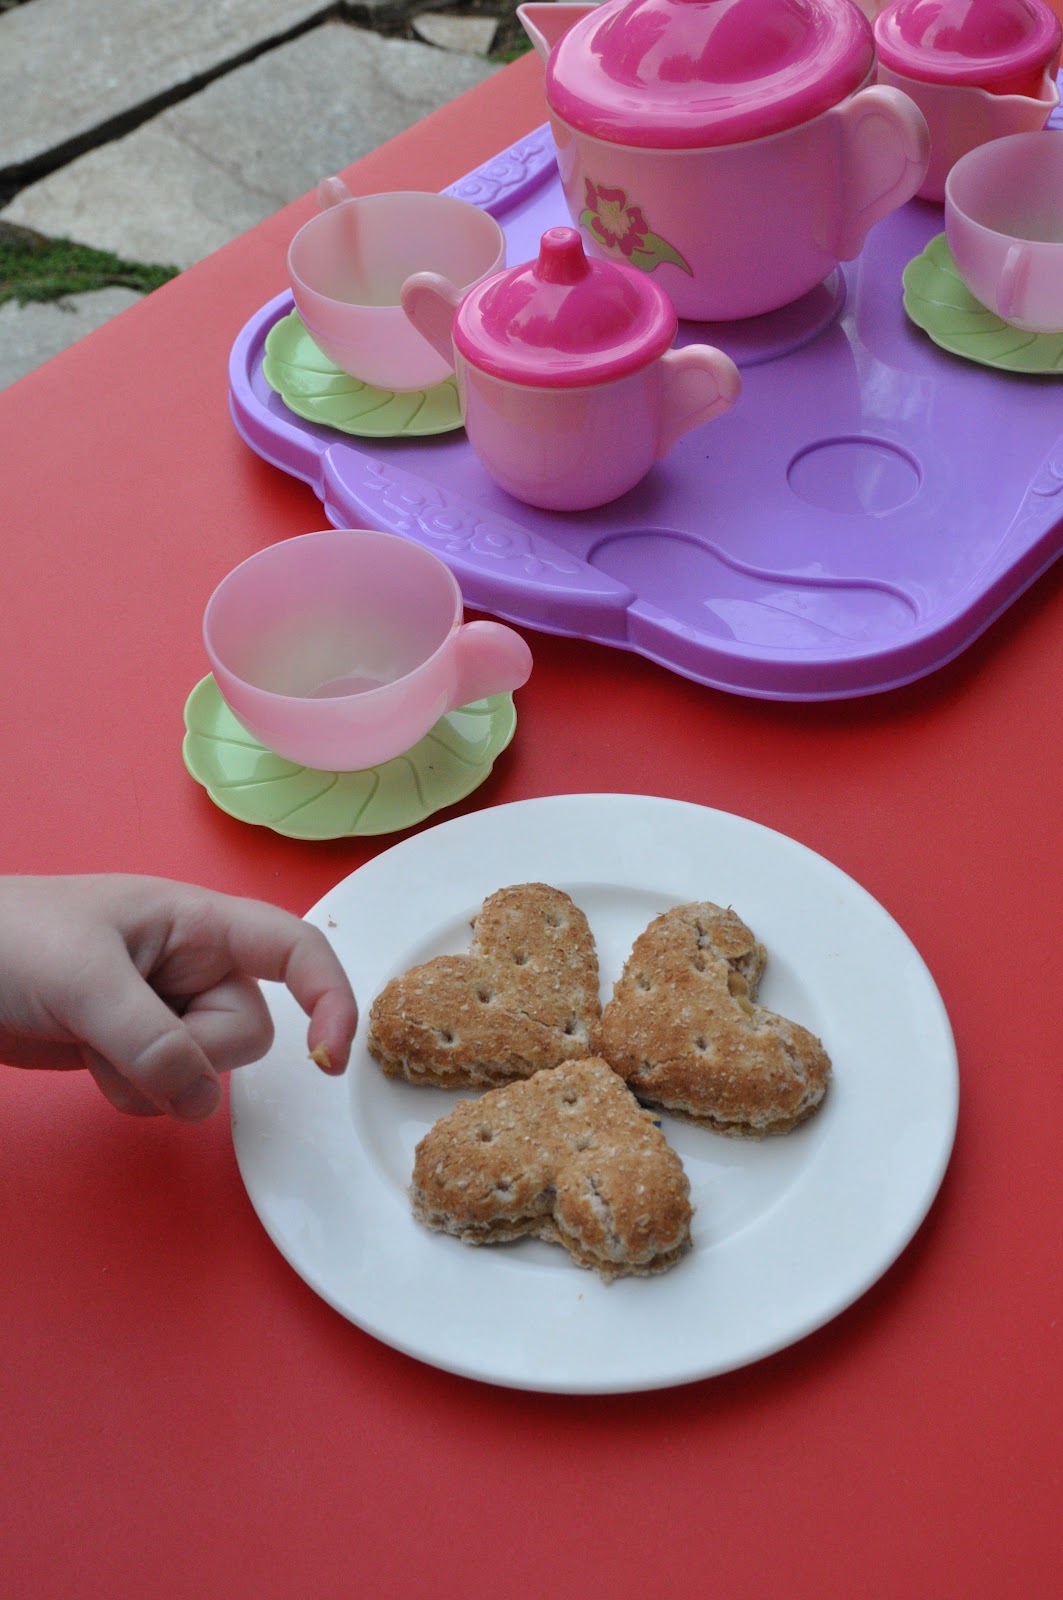

But back to the pretzels . . .  If you feel like sharing some chocolate with your honey (big or small), these are super easy to make.


Chocolate Covered Pretzels
  • 1 tsp. canola oil
  • 1 cup chocolate chips (I prefer dark chocolate)
  • About 35-40 pretzels  (I used lightly salted)
  • Sprinkles

Place the oil and chocolate chips in a microwave-safe bowl, and put the bowl in the microwave.  Microwave on high for forty-five seconds, then stir well.  Repeat several times until the chocolate is completely melted.

Add several pretzels at a time to the bowl, submerging them in the chocolate.  Lift the pretzels out one at a time with a fork.  Place the pretzels on a cooling rack sitting over a tray so that the excess chocolate can drip off.  Sprinkle the pretzels with sprinkles, if using, within a few minutes while the chocolate is still moist.

Once your tray is full, place it in the fridge for about 30 minutes to set.  After the chocolate has hardened, carefully lift each pretzel off the rack one-by-one by reaching underneath the pretzel with your fingers and gently dislodging it from the rack.  Be careful as you do this last step, as some of the pretzels may break.  (I made extra for this reason.  We kept the broken ones to munch on at home and sent the pretty ones to share at school.)

Sunday, February 12, 2012

On Counting Carbs . . . and Eating Them Too

For reasons I am not yet ready to reveal to the Internet, I recently had to start counting carbs and watching my diet.  In a nutshell, it’s not fun.  I have always been a very healthy eater, but there’s something about being told I have to eat healthy that is just so . . .  well, annoying.  Nevertheless, I have committed to following the rules.  Most of the time, anyway.  When I do feel like cheating, it will most definitely be for chocolate.

At our Superbowl party last weekend I cheated with these brownies.  They have less flour and less sugar than your average brownie.  The chocolate flavor really shines through from the Dutch-processed cocoa, which is supposedly more flavorful than your run-of-the-mill cocoa powder.  


These brownies also have a nice dose of salt, and I have to admit I find the sea salt and chocolate combo to be downright mouth-watering.  Initially I made a version with all of the salt inside the batter, but I think the crunchy topping makes for a nice finish. 


If you happen to be watching your carb (or calorie) intake, give these brownies a try.  I hope to cheat with them again soon!

Lower Carb Chocolate Sea Salt Brownies
Makes 16 brownies
  • 1 teaspoon instant espresso powder
  • 2 teaspoons vanilla extract
  • ½ cup unsweetened cocoa (preferably Dutch-process for a flavor boost)
  • ½ cup all-purpose flour
  • 1 ¼ teaspoons sea salt, divided
  • ¼ teaspoon baking powder
  • 1 cup sugar
  • ¼ butter
  • 2 large eggs
Preheat the oven to 350 degree F.  Grease an 8-inch square metal baking pan.

In a cup, dissolve the coffee in the vanilla extract.  In a small bowl, combine the cocoa, flour, ¾ teaspoon sea salt, and the baking powder.  Then in a medium bowl, whisk the sugar, vegetable oil spread, eggs, and coffee mixture until well-mixed.  Then blend in the flour mixture.  Spread the batter in the prepared pan.  (It will be a thick batter.)  Lastly, sprinkle the remaining ½ teaspoon sea salt over the brownies.

Bake for approximately 22 to 24 minutes, or until a toothpick inserted approximately 2 inches from the edge of the pan comes out almost clean.  Place the pan on a wire rack and cool for approximately 2 hours.  Enjoy!

Sunday, December 12, 2010

Meatless Mondays: More on Muffins

{Photo from here}

In the last few weeks I've mentioned my (and my preschooler's!) new love for hearty muffins as an afternoon snack. This muffin started it all. The recipe calls for peanut butter to replace some of the butter. It is sweetened with maple syrup and chocolate chips. And they are made with whole wheat flour. These are more than your average muffin because the peanut butter and whole grains really boost the protein and fiber.

Oh, and did I mention how yummy they are? The chocolate chips poking out of the top of the muffins entice my daughter every time. We have some in our freezer now!

Monday, November 29, 2010

Meatless Mondays: Pack it in


Back when I was pregnant with my daughter I started to keep track of how much protein I ate just to be sure I was getting enough for the both of us. I quickly realized that it's hard to eat enough protein in just one or two vegetarian main dishes. But there are many foods that you wouldn't ordinarily think of that have a good dose of protein. Whole grains are one of the easiest "alternative" sources. Once I started counting every whole grain slice of bread and every spoonful of brown rice, the protein really added up quickly.

If you want to feel full during a day of meatless eating, then pack in the protein. Afterall, every ounce of nutrition counts. And what better way to enjoy some nutrition than in a muffin. That's right, a muffin. My daughter loves them, so I try to find recipes withextra protein or vitamins without too much sugar. She and I both have them for afternoon snacks. Or breakfast. Or a midnight snack. Or dessert. You get the idea ~ when you look this similar to a cupcake, what's not to love?

I can't wait to share some recipes soon.

Friday, August 6, 2010

Fun With Ola

Last weekend I was looking for a fun cooking project to do with my daughter. We were in the mood for something sweet, but I was hoping to avoid heating up the house with the oven. I showed my daughter a picture of homemade granola bars. Then she launched into this extended story about how her preschool friend Emily likes ola bars with chocolate chips and how her other friend Maria likes ola bars only sometimes.

Since we almost never eat granola bars around our house, this was the first time I had heard my daughter call them "ola bars." She was dumbfounded when I explained that they are actually called "granola bar." So cute!

In the end we did make a batch of granola bars. Truthfully these are somewhat of a cross between granola bars and Rice Krispie treats. They don't have granola in them, and they aren't baked like homemade granola. But they do have the flavor of granola bars with some of the same treats you would expect mixed in ~ dried fruit and chocolate chips. The cereal is more like over-sized Rice Krispies, similar to what rice cakes are made of, and I found it in bags with all the other cereals.


It was a super fun project ~ easy, very child-friendly, and SO tasty. The first time I made these I followed my penpal Emily's recipe, then last weekend I used another variation. My version is a little less sweet than the two recipes I looked at.


~~~~~~~~~~~~~~~~~~~~~~~~~~~~~~

Peanut Butter "Ola" Bars
  • 3 cups crispy rice cereal
  • 3 cups crispy kamut cereal or toasted oat cereal
  • 1 cup dried cranberries (or other small dried fruit)
  • 1/2 regular raisins
  • 1/2 cup sunflower seeds
  • 1 cup honey
  • 1 16 oz jar natural peanut butter (creamy or chunky)

Spray a 9 x 13 baking pan. Combine the cereals, raisins, and sunflower seeds in a large bowl. Place the peanut butter and honey in a microwave safe bowl and microwave briefly to soften the mixture, then stir well to combine. Pour over the cereal mixture, then mix well. Press the combined mixture into the prepared pan. Cool, cut into squares or bars, and serve.

Tuesday, June 22, 2010

Keepin' It Fresh

When I think of summer I think of backyard parties. In the last few weeks I was lucky enough to be part of two backyard parties, and each time my contribution was a batch of guacamole (along with my favorite homemade salsa).

Nobody batted an eye when I showed up with this:


Are you wondering what the brown things are? Let me explain. . .

I've long loved avocados, and especially guacamole, but keepin' it fresh is a real PROBLEM. There are all kinds of tips out there for keeping avocados from turning brown. One of the most popular methods involves squeezing lots of citrus juice on the avocado (which works great since I love the flavor of lime juice with avocado anyway). I find the citrus is just enough to keep the avocado fresh until it's devoured (not long in my house!).

When I'm saving part of an avocado until the next day, or when I prep guacamole in advance, I definitely need something more powerful. The best trick I've tried is to put the seed(s) back in the avocado. If I'm saving half an avocado in the fridge, I just leave the seed in. If I'm saving guacamole for later I save the seeds while I prep, and then I submerge the seeds back in the dip when it's finished. It looks a little weird, but for whatever reason the avocado stays super fresh this way. Then I remove the seeds at the very last minute.


Here's my latest guacamole recipe. It's smoky, full of flavor, and has a subtle spice from the Tabasco. Enjoy!

~~~~~~~~~~~~~~~~~~~~~~~
Party Guacamole
Serves 6-8 as a small appetizer
  • 3 avocados
  • Juice of 2 limes
  • 1 clove of garlic, finely grated on a microplace or minced
  • 3/4 tsp. ground cumin
  • 1/4 cup fresh cilantro, minced
  • 4 green onions, white parts only, minced
  • 1/3 cup Rotel canned tomatoes with green chiles (about 1/3 of a 10 oz can)
  • 1/4 tsp. sea salt
  • Several dashes of Tabasco (3 or more shakes of the wrist)
  • Ground pepper
Cut open the avocados, remove the seeds, score them, and then spoon the flesh into a medium bowl. Add the lime juice immediately, then add all of the other ingredients. Stir until the ingredients are well mixed and the avocado has mashed a bit. Adjust seasonings, and serve.

Sunday, May 23, 2010

Mini Fiesta

Yay, Emily! My penpal had her quesadilla party this weekend. Back when we did our food exchange my challenge to her was to host a quesadilla party. I gave her my favorite salsa recipe to try, and she ended up using my spinach quesadilla recipe and pumpkin quesadilla recipe too. See her site with all the details, plus her strawberry salsa and chicken veggie quesadillas. Looks like a fun time!


I figured it was time for me to share my salsa recipe. It's the red salsa in the middle of the picture above. (Thanks for the picture, Emily!) It's super easy to make since you can throw everything into a food processor mostly unchopped. The one thing I would be sure to chop is the jalapeño so that you don't end up with large pieces in your salsa. I also think it tastes better the next day once the flavors have had a chance to blend.

~~~~~~~~~~~~~~~~~

Homemade Salsa
  • 1 1/2 medium jalapeños (or more to taste), chopped
  • 2 cloves of garlic, minced
  • 1/2 bunch of fresh cilantro, washed well (some stems are OK ~ they have flavor too!)
  • 1/2 small onion (red onion looks the best!)
  • 1 can Mexican recipe stewed tomatoes
  • 1 can regular stewed or diced tomatoes
  • 1/4 tsp. salt
Place all ingredients in a food processor and pulse until the salsa reaches your desired chunkiness.

Thursday, May 13, 2010

Par-tay!

I just finished ALL of my last law school projects last night. I honestly don't know what to do with myself. Oh wait. . .maybe I'll plan a party! For 30 people! And host it in two days! Can it be done? We'll see.


In the meantime, here's a super easy party recipe for you. It was part of our WILD party a couple of weekends ago. For best results, make this topping in advance and keep in the fridge so the flavors can blend together. The batch I made was garlicky and yummy!

~~~~~~~~~~~~~~~~~~~~~~~~~~~~

Easy Tomato Bruschetta
  • 1 15 oz. can diced tomatoes
  • 1 large clove garlic, minced
  • 1 tsp. fresh oregano, minced (or any other herb you prefer ~improvise!)

Mix together all the ingredients. Cover and let the flavors blend in the fridge for an hour or more. Use on toasts or as a sauce or garnish for pasta or veggies. Top with Parmesan or other cheese.

~~~~~~~~~~~~~~~~~~~~~~~~~~~~~~~~~~~~~

Now a question for you: what's your favorite party food?

Tuesday, October 27, 2009

Dillas


We eat a lot of quesadillas at our house. They're quick, easy, and can be customized to fit everyone's taste. In fact, simple cheese quesadillas have become my signature contribution at weeknight school events when I have very little time to prep. The kids eat them plain, and I add a bowl of salsa alongside for the adults to spice theirs up. I can purchase 3 ingredients (tortillas, cheese, salsa), make an entire lasagna pan of them in about 30 minutes, and keep them warm in the oven until I cart them off to whatever kid-event they're headed to. It works out great for everyone!

Recently I was doing this exact thing when I decided to make a few extra "adult" quesadillas using whatever I happened to have in the fridge. This ended up being a great discovery, on par with macaroni and cheese or strawberry shortcake. I mean it - these are scrumptious! Next time you're in the food doldrums and need a quick solution, definitely try these out. Just remember to make extra!

Simple Spinach Quesadillas
  • 4 taco-sized tortillas (flour, wheat, or corn)
  • About 1 1/3 cups of shredded Mexican cheese (jack or cheddar will also do fine)
  • About 2 cups fresh baby spinach, roughly chopped
  • 3 green onions, white and light green parts, cut lengthwise into fourths, then very finely sliced
First prep the cheese and veggies. Warm a skillet or grill pan on medium. To assemble the quesadillas, put about 1/2 a tablespoon of green onions on one half of each tortilla. Then spread about 1/3 cup of cheese over that. Finally, spread 1/2 cup of spinach on top. The tortillas will seem very full - fold in half and crease slightly so they stay closed. Grill for a few minutes on each side, pressing them closed occasionally with a spatula to help the spinach to cook down. Enjoy!
Related Posts with Thumbnails

  © Blogger template 'A Click Apart' by Ourblogtemplates.com 2008

Back to TOP