Wednesday, May 28, 2014

Here's to Mushrooms!

One of my recipes is being featured by Mushroom Mondays.  I'm feeling very proud!


And hungry ~ don't these look good?  These babies are so photogenic!

Sunday, May 25, 2014

On the Shelf

In the world of salsas there is no doubt that fresh (either homemade or restaurant made) is always best.  I happen to think my homemade salsa is pretty killer, in fact.  But nobody has fresh-made salsa on hand every day, and when you eat Mexican food as much as I do you definitely need a backup plan.

I have started keeping jarred salsa on my shelf at all times.  It comes in very handy when I need a last minute snack to take somewhere ~ with chips, of course.  And I'm not above dressing a salsa up in a nice container and halfway pretending I made it myself.  (I would always tell the truth if asked, but it's fun to pretend in the meantime!) Jarred salsa is also great to have when the pantry is nearly empty and I'm hoping to feed my family yet another meal centered around rice and beans. With a little salsa and another ingredient or two, you can make a great burrito, taco, or even a casserole.  I also love salsa with eggs.

Since I moved to Austin last summer, I've been exploring the local selection of jarred salsas.  There are some good ones out there.  I'm definitely still exploring, but this is my current fave:


The jar says it's the winning recipe from a Texas salsa competition.


It's loaded with tomatillos and onions, and not too much else.  I would use all the same ingredients if I was making it myself at home.


 And it has a nice kick to it.


I can't promise that I won't change my mind a bunch more times as I explore the salsa aisle, but for now I'm hooked on this one.  Happy dipping!

Tuesday, May 20, 2014

Tropical Bliss

My oldest is turning eight this summer.  Anybody who's been with me for very long knows that I love, love, love planning parties.  So this year I came up with some party ideas in advance and proposed them to my daughter.  (Yes it's self-centered, but I actually "pre-planned" the party-planning by poking around pinterest to find themes and entertainment that would be relatively easy to pull off.  And pull off in style.  After all, it can be a lot of pressure on a mom to put these things together.)

Anyhoo, as you might imagine, my daughter rejected every single one of my proposals.  So we were back at square one and all I could do was wait until my little diva made up her mind.  So I put my pinterest-surfing to rest and waited. We negotiated, and then I waited some more. 

Eventually my munchkin settled on a pool party centered around the movie Rio.  We were both happy.  She got her swimming, and I found a place other than my house to host it.  I also love the tropical theme, and it's fun that it's something other than a luau.  Brazilian music is pretty great, too, so at least we've got that covered.

This has turned out to be a really fun party to plan, but I must say that I have some stiff competition.  Since there is no official Rio partyware or decorations available, people have had to get creative.  And WOW have there been some great Rio parties!  

Here are some glimpses of my two favorites from around the web:


{An Australian party that can be viewed here.}


{This party took place in Brooklyn and can be found here.}


At this point I should probably point out what is probably already pretty obvious.  The party that I will actually be throwing for my daughter will be ~ dare I say it? ~ pretty regular.  You know, the usual.  Swimming, pizza, cake, and some fun music.  But the party I will be throwing in my imagination?  Now THAT party will be glorious.  Absolutely top-notch.  Don't you just wish you could come?

Monday, May 19, 2014

Words To Live By

We should all follow this advice, don't you think?

~From my new playroom wall - more on that soon!~

Sunday, May 18, 2014

Meatless Monday: Three Go-To's for Great Flavor

Do you eat meatless on Mondays?  If you do, is it easy for you to pull off?  Or do you find yourself missing the meat in every meal?  

I have long had the assumption (and I have no idea how accurate it is) that meat-eaters feel deprived when they eat a vegetarian meal.  As a result, I have labored over every menu I have planned where the target audience included carnivores.  In the process I have developed some techniques for satisfying even the meat lovers out there.

The most important element to a phenomenal vegetarian meal is flavor.  In other words, don't skimp.  If you're using garlic, use a little extra.  If your recipe calls for herbs, pile them in.  And don't cut back on salt or oil either.

When I'm especially concerned with pleasing the palate of meat lovers, I usually go for some smokey heat to give it a little something extra.  Even when the smokiness is subtle, I find that it helps to round out the flavor of just about any dish. And it just might make your favorite meat eater feel more satisfied by mimicking the flavor of meat.

I have three secret weapons I often turn to for this purpose, and they are all in my spice cabinet.


Cumin, ground chipotle, and smoked paprika are my go-to ingredients when I want to add a little something extra to a dish.  Cumin is the mildest of the three.  I find that a couple dashes of cumin will add an earthiness that works well in almost any dish.  I even use cumin with pumpkin or other types of winter squash. (I worry that a more robust smokiness might overpower them.)

Both smoked paprika and chipotle are more intense.  They also have a lot of heat to them, so use sparingly.  I tend to choose either smoked paprika or chipotle as a flavor enhancer in dishes that are traditionally seasoned with meat.  For example, I add smoked paprika or chipotle to vegetables (such as greens) or beans that are often seasoned with ham or bacon.  I also use them to flavor sauces that traditionally include meat, such as an Italian ragu or chili.  My best advice is to have fun experimenting.  Regardless of how you decide to use them, these are great tools to have in your arsenal.

Do you have any tips for adding flavor to your favorite veggie dishes?  Please send them my way!

Saturday, May 17, 2014

Things I Learned This Week

It's been both a great and a challenging week around here.  The week started off with my youngest catching a stomach bug, and it is ending with some great times with family and friends.  So here are a few things I learned this week that I hope to remember in the future:
  • Bowtie pasta makes any meal more fun for kids ~ even a meal that is basically just pasta with vegetables.
  • Melted butter does not perform the same way in baked goods as softened butter does.  As a result, America's Test Kitchen Chewy Chocolate Chip Cookies are to die for.  Make these again!
  • My oldest daughter is "designing" a restaurant.  She originally called it the Leaky Cauldron (a Harry Potter reference), but now she has re-named it to The Horseshoe.  I can't wait to see where this leads.
And for a little eye candy, here's a snapshot of the cute little bouquet we gave our oldest after her ballet recital today.


Happy Weekend!

Tuesday, May 13, 2014

Where I am

Howdy, folks!  It's been a while, but I'm very pleased to be posting again.  The truth is I've really missed blogging.  I'm not entirely sure why it's been so hard to get back to it.  At first I felt pressure to catch up by blogging about all the things that had happened during my absence.  Then I felt like I had nothing to say at all.  Then of course there was the period when I had a newborn (and a not-so-new-born), and I just couldn't find the time.  And finally I felt like the momentum was gone and I probably would never to get back to blogging regularly.  Still, I always knew how much I enjoyed and missed blogging.

Despite all of those worries, here I am.  I finally pulled the trigger.  And I'm here because I want to be here.  Writing my thoughts down.  As they are right now.

So why blog after all this time?  Blogging is a creative outlet for me.  I have several creative outlets, but blogging feels far more concrete.  It's something I can build upon should I choose to do so.  And it's an activity that leads to other types of creativity ~ like improving my photography, unusual outings, party-planning, or especially fun (okay, I mean messy) activities with the kids.  We all need a little creative in our lives, right?  Plus, Blogging is my form of journaling.

So this is where I've been.


And this is where I am now.


I hope we can talk again soon.

Wednesday, May 30, 2012

Party Season

We are now entering party season around here, and I couldn't be happier.  In addition to planning my munchkin's summer birthday party, I got myself mixed up in another little foodplay project.  My daughter's school has a spring auction to raise money for the school.  What did I donate?  Food, of course!  I offered to bake two dozen custom cupcakes, to be delivered to a lucky child's classroom, home, or birthday party.  It sounds like a fun little project, don't you think?

The only problem is that I'm not that experienced at baking cupcakes.  I have just about never baked fancy cupcakes.  (The fanciest I've ever gotten were little cakes baked in bug cupcake molds and piped with the simplest of frostings ~ whipped cream!)  So there was definitely some risk in promising so much.  Afterall, the word "custom" pretty much implies free license on flavor, color, and even theme.


I was relieved to hear that the purchaser of my little cupcake project isn't overly demanding.  Her daughter is having a unicorn party.  She selected a very specific cake flavor that will be easy to do, and I have free rein on color and how to interpret the theme.  But wait . . . I don't think I can draw a unicorn to save my life.  Amazon doesn't sell unicorn cupcake rings or other types of cupcake toppers.  (Although they sell lots of great ones in other themes.)  What to do, what to DO?!?

I turned to Etsy for inspiration, and now I need feedback.  Any thoughts on these cupcake toppers?  Any idea how I might come up with an equally fantastic diy version?  Any other tips or ideas on how to create a masterful unicorn cupcake?  I'm all ears.

'Unicorn Birthday' by appetiteforconvo

Inspiration for making unicorn cupcakes!


Bottle Cap Image Sheet ...
$1.75

Unicorn Happy Birthday...
$21.00

Rainbow Unicorn Birthda...
$4.75

Unicorn Cupcake Toppers
$0.75

Rainbow Unicorn - Cupca...
$5.95

18 Unicorn Theme - Cupc...
$18.00

Rainbow Unicorn Birthda...
$4.75

Cupcake Toppers "W...
$9.99

PRINT SALE Unicorn Cake...
$17.50


{Thank you to handmadeology for this etsy treasury posting tutorial.  I love that I can feature some of my Etsy faves without jeopardizing the legal rights of the individual artists.}

Monday, May 28, 2012

Meatless Mondays: Summer Fun

And we're back to Monday...  How did that happen?  I hope all my readers have been enjoying the holiday weekend.  For me, it's just one more reminder that summer is nearly here.  (Yippee!)  I plan to savor this summer.  Partly to distract me from the heat that could be the bane of my existence.  And partly because this summer will likely be a very special summer.  

I'm between jobs right now, so I will be planning lots of activities and quality time with my big munchkin.  Baby munchkin is due to arrive in early August, so that will be huge.  In between I'm hoping to fit in a trip or two, lots of dinners on our back patio, many afternoons spent poolside, and maybe even a day or two at the beach.


To get it all started, I recently discovered what may become this year's favorite summer pasta.  It's another tortellini dish that can be served warm, room temperature, or cold as a pasta salad.  I took it to a cookout as a side dish yesterday, and I heard a few "yums" amid all the noshing.  Always a good sign!   


Notice that the ingredient list is decidedly low-fat, making this sauce yet another example of a sneakily-lowcal cream sauce.  Just remember to watch how long this dish sits out on the back patio, as it can spoil as quickly as any salad dressed with a cream-, buttermilk-, or mayo-based sauce.

~~~~~~~~~~~~~

Tortellini with Yogurt Chive Sauce
Serves 4-6
  • 1 pound fresh or frozen cheese tortellini
  • 8 oz. frozen peas
  • 2/3 plain lowfat yogurt
  • 1/2 cup Parmesan (either grated or shredded), divided
  • 2 cloves garlic, minced
  • 2 tablespoons roughly chopped chives
  • 1/2 teaspoon salt, plus additional for the pasta water and to taste
  • 1/4 freshly ground black pepper
  • 1 tomato, diced
Cook the tortellini in a pot of well-salted boiling water according to the package directions.  Add the peas to the boiling water during the last 3-4 minutes of cooking time.  (Note that fresh tortellini may only need 3-4 minutes to boil, in which case you can add the tortellini and peas together from the start.)  Reserve 1/2 of the pasta cooking water before draining.

In the meantime, mix the yogurt, 1/4 cup Parmesan, Garlic, chives, 1/2 teaspoon salt, and pepper in a small bowl.  Place the cooked pasta and peas in a large bowl.  Add the diced tomato and sauce.  Mix well.  Use some of the reserved pasta water to thin out the sauce, if needed.  Add additional salt and pepper to taste, then sprinkle with the remaining 1/4 cup Parmesan.  Serve warm, room-temperature, or chilled as a pasta salad.

Saturday, May 19, 2012

Meatless Mondays: Planning Ahead!

I'm trying to get back to my regular Meatless Mondays posts, but I keep noticing it's Monday evening and I've forgotten to post.  Again.  So this week I'm planning ahead and offering you my Meatless Monday idea far enough ahead of time that you could actually make it.  On Monday, no less!

I know we're heading towards summer, but this last week in NorCal offered a little break in the warmer temperatures we were having.  We had a breeze on several evenings, and soup actually seemed like appropriate dinner fare.  Truthfully, I find that soup isn't such a terrible warm-weather supper because it's so light and easy on the tummy.  (And waistline!)  


I love this recipe because it's so adaptable.  The essential elements are the onion, mushrooms, broth, and tortellini.  When the cupboards are bare, you could throw together only the essential items for a simpler version.  You could fancy it up with additional colorful veggies and extra herbs.  Or, you could streamline it for a busy weeknight by using store-bought diced onions and some frozen veggies rather than chopping your own.  As you can see, the version I made last week was fairly chunky and loaded with veggies.  We ate it with cheese bread and salad, and I made a double batch so that I can freeze some for later!


~~~~~~~~~~~~~~~~~

Mushroom Tortellini Soup
Serves 4-6
Cook time: about 45 minutes
  • 1 tablespoon olive oil
  • 1 teaspoon dried thyme
  • 1/4 teaspoon red pepper flakes
  • 3 cloves of garlic
  • 1 small onion, chopped small
  • 1/2  red bell pepper, chopped small
  • 2 carrots, peeled and chopped small  (or you can substitute other veggies, even frozen veggies, for the carrots and bell pepper - use about 1 1/2 cups)
  • 2 medium portabello mushrooms,chopped into cubes
  • 1/4 cup red wine (optional)
  • 1-14 oz can diced tomatoes, undrained
  • 1-14 oz can white kidney beans (or cannelini beans), drained and rinsed
  • 1 cup of water
  • 1 quart vegetable stock
  • 1-9 oz package fresh or frozen tortellini (filled with cheese, muchroom, or other complimentary filling)
  • Garnishes of your choosing, such as parmesan cheese, fresh herbs, sour cream, or garlic croutons.

Heat the oil in a dutch oven over medium heat.  Add the thyme, red pepper flakes, and garlic, then saute for 1 minute.  Add the onion, red bell peppers, and carrots, then saute until they are beginning to soften.  (5-8 minutes)  Add the portabello mushrooms, and season with salt and pepper to taste.  Let the veggies saute another 5-8 minutes until the mushrooms have released some of their juices and are starting to brown.

Use the win to de-glaze the bottom of the dutch oven.  Add the canned tomatoes, beans, water, and stock.  Bring the soup to a boil, then simmer for about 8 minutes.  Add the tortellini, and cook according to the package directions.  (Fresh takes approximately 4-7 minutes, frozen takes approximately 6-9 minutes.)  Adjust salt and pepper to taste.  Garnish and serve.

Thursday, May 17, 2012

When You Wish Upon a Star

My daughter's 6th birthday is coming up.  I like this time of year because anytime my daughter sees something that she wants I can tell her to put it on her birthday wishlist.  When I say this, my daughter seems to know that I mean it.  We don't negotiate back and forth about the fact that she really wants it now.  My daughter generally accepts that it's on her to remember to write it down if she really wants it.

Yesterday my daughter sat down and actually started her wishlist.  I got a phone call, so I didn't really pay attention to what she wrote.  This morning I found the list she had made, and my hubby and I had a really good laugh.  This list is like a little window into her 5-year old outlook on the world.  I'll leave it to you to interpret what on earth my big munchkin was thinking!


Any thoughts?

Tuesday, May 8, 2012

Swallow-ing


Did you have a nice weekend?  I hope so.  My weekend included several unusual adventures.  Most notably, a pair of barn swallows moved into one of the eaves on our front porch.  A pair visited us a couple of years ago and built a nest in the exact same spot ~ perched in the corner above our front door.  It was fascinating to watch them assemble their mud nest, keep watch over their eggs, and then feed their babies. 

This weekend the current pair of swallows laid a mud foundation for the nest they were planning to construct over our front door.  While I was pleased to see the swallows back again, discovering their blueprints for our front porch was bitter-sweet.  I'm all for experiencing nature close to home, but these things are messy!   I'm pretty sure that regularly cleaning bird droppings from our front door is NOT a hobby I want to re-visit in my current condition.  So I made an executive decision.  The birds can stay, but not directly over our front door.  The only problem is how to explain that to our new avian friends.

I read online that swallows will sometimes take up residence in a location you select.  All you have to do is build a little next box and place the prime real estate in a prime location at the same time you knock down the old nest.  My resourceful hubby got to work.


He sawed.  He measured.  And finally, he glued the nest together with wood glue.


The nest box is now sitting in another, much more desirable, corner of our porch.  We left it a bit dusty so the birds would find the barn-i-ness they are looking for. Then I spread some bird seed on the nearby ledges.  I wanted to be neighborly, afterall.


I hope the darling swallows aren't too terribly offended that we disassembled the start of their first nest.  The spot we've made for them really does have a lot to offer.  Now that everything is in position  and our For Rent sign has officially been hung, all we can do is wait.

Monday, May 7, 2012

Meatless Mondays: Start it out right!


I am a huge believer in breakfast, probably because my body seems to be programmed to eat a full meal within a few hours of waking up.  (I wake up hungry, people, hungry!)  In my experience, it's important to eat healthy (and hearty!) in the morning to start a day out right. 

As a vegetarian, I also find it's important to be sure there's a decent dose of protein in every meal, including breakfast.  Don't be fooled - "vegetarian protein in the morning" does not necessarily have to mean eggs.  In fact, I find that I can get a nice dose of protein simply by eating whole grains. 

This weekend I whipped up my first batch of baked oatmeal, which I've been reading about all over the internet.  I used a very basic recipe, and I look forward to jazzin' it up in future versions with some dried or fresh fruit and other flavor combinations. 

Oatmeal has a nice dose of protein built right in, plus it makes a great base to combine with other protein sources.  By my count a serving of this baked oatmeal recipe has about 5 grams of protein (based on a 12-serving recipe), which isn't bad for something that smells as good as a freshly baked oatmeal cookie! 

This morning I had it with yogurt and berries, which was great.  Tomorrow I might try it with warm milk, which I imagine will be closer to a true bowl of oatmeal.  The oatmeal-dairy combo puts my protein tally closer to 12 grams, which I consider to be quite respectable for breakfast.

In case I'm selling this stuff short, this recipe is truly enticing!  It absolutely smelled like a cookies as it baked.  I was thrilled when it won over my hubby, who typically turns his nose at traditional oatmeal.  Plus, it satisfied my morning sweet tooth without being quite as sweet as an actual cookie.  I'm the queen of leftovers, so I was doubly pleased to discover how well it warmed up in the toaster oven the next day.  Yay for a week of baked oatmeal!


Baked Oatmeal - the Basic Recipe
Serves 8-12

  • 3 cups oatmeal
  • 3/4 brown sugar
  • 1/2 cup butter, melted
  • 2 eggs, lightly beaten
  • 2 cups milk
  • 2 teaspoons baking powder
  • 1 teaspoon salt
  • 1 teaspoon vanilla
  • 1 teaspoon cinnamon
Preheat the over to 375 degrees.  Mix all of the ingredients together.  Pour into a buttered 13 x 9 inch pan.  Bake at 375 degrees for 25 minutes.

Friday, May 4, 2012

Munchkin Talk


It happened.  I don't know how it happened, but it happened.  My baby is no longer a baby.  She's no longer a toddler, or even a preschooler.  She's now a full-grown little lady.


I really miss her baby years, when I spent hours cuddling and rocking her in my arms.  And I confess, I kept that going absolutely as long as I possibly could.  We would have brief, but regular, mini cuddle sessions every morning before I scooted her off to preschool and me off to school or work.

So this morning I did my best to re-create that.  Lucky for me, my munchkin is always up for a hug or a cuddle.   Here's how it went down:

Me:  Morning, sweet-girl.  What are you doing awake already?
Munchkin:  Hi Mommy.  I was just playing.
Me:  Hey, I missed putting you to bed last night.  Wanna cuddle for a minute?
Munchkin:  Sure.
Me:  Here, climb in my lap.
[She tries, she really does.  I grunt and groan, then re-position.  Still, she can't quite make it onto my lap.  My daughter was probably thinking "awk-ward," which is her new favorite word.

Munchkin:  Mommy, there's no room.  How about if I just sit next to you and lean my head on your shoulder?
Me:  OK, I guess that'll work.
[We cuddle for a minute.]

Munchkin:  The baby's really big now, Mommy, isn't she?
[What she really means is, "Your belly looks gi-normous!"]
Me:  Yep, she keeps growing.

My munchkin is so excited to meet her baby sister, who is set to arrive in August.  I am too, of course.


In the meantime, I'm trying to soak up as much time with her as I can.  Soon I'll have a big munchkin and a little munchkin to share stories about.

Thursday, May 3, 2012

Baking for a Cause

I just completed a project that I'm really proud of.  For several years I've been inspired by the commercials on the food network about Share Our Strength's work to end childhood hunger.  Share Our Strength started a campaign encouraging people to hold bake sales to raise money  for their organization.  I've long wanted to host one myself.  Why?  Because it's a great cause, and I've always loved bake sales.  Bake sales remind me of the many summertime lemonade stands I held as a kid.  And nostalgia is a very powerful thing!


Share Our Strength has a great website with tons of resources to make hosting a bake sale easier.  So I signed up on their website and got started.  As it turned out, my daughter's kindergarten class needed to come up with what they call a "leadership project" for this quarter.  (Basically, they are supposed to learn about something as a class and present it to the rest of the school.)  My bake sale idea became this year's leadership project.

I worked with the kindergarten teachers to get the project up and running.  We wanted to keep the bakesale simple and pretty small scale, so we decided to sell treats to the school on a Friday afternoon when the school would normally sell ice cream.  The ice cream costs $1, so we decided we'd sell our treats for $1.  We limited the bake sale to brownies and rice krispie treats to keep it simple, and then I solicited volunteers via email to bake some treats for us.  I also used some of the tools on the Share Our Strength website to make a flier about the event.  

Next the kindergarten students made a poster advertising their bake sale, and they put together a presentation explaining what they were doing.  They went from classroom to classroom giving the presentation in small groups.  Then they handed out the fliers I had made to all the students in the school.  They were clearly very proud to be helping out other children.

Did you know that nearly 1 in 5 children suffer from hunger in the United States?  I thought that was a shocking statistic.  We put that fact on our fliers, and it definitely got people's attention.  The bake sale happened last Friday, and we raised just over $250!!!  I was amazed at how successful our little project was.  The students were so excited for their Friday afternoon treat.  And I was so impressed with how generous they were, too.  Many of them put $2 in the basket and then only took one treat.  In the end this bakesale was at least as fun as my childhood lemonade stands. 


By the way, my daughter pretty much made the rice krispie treats herself.  I always forget how easy (and yummy!) rice krispie treats are.  All you really have to do is melt the butter and marshmallows and then stir, stir, stir.  Plus, it's always fun cooking with kids. 


All in all, this project was a great experience that left me feeling so inspired.  My hope is that I will continue to find ways to be involved with Share Our Strength.  It really pains me to think about kids feeling hungry right here in this wealthy nation we live in.  So . . . if you're looking for a summer project to do with your kids, or you've been wanting to find a way to give back to your community, I definitely recommend hosting a Share Our Strength bakesale.

 http://join.strength.org/site/TR?fr_id=1190&pg=entry

Saturday, March 17, 2012

A Nod to St. Patty's Day


I won't comment on the fact that I barely post anymore.  Really, I won't.  I also won't comment on the fact that this blog has become a holiday blog, at best.  Nobody wants to read about my regrets or my promises to do better, right?  OK, good.  I'm glad we're clear on that.

This year St. Patrick's Day is all about beer at our house.  My home-brewing hubby decided to host a home-brew day with buddies from his home-brew club. Can you tell there's a lot of home-brewing happening around here these days?

I wanted to pay a tiny tribute to St. Patrick's Day, and I figured the best way to get a bunch of home-brew guys on board was to . . . well, add some home-brew of course.  So, out popped this chocolate stout cake.


All I did was pull a chocolate cake mix from my cupboard and replace the milk with my hubby's home brewed stout.  The package called for 1 1/4 cups of liquid, so there was quite a bit of beer in my version.  It was a little frothy as it mixed up, and you could definitely smell the aroma of the stout as it cooked.


I didn't want the beer to be overpowering, so I topped it with a straight-up chocolate frosting.  I used the frosting recipe on the cake mix box, which turned out to be extra chocolate-ly.  This recipe is definitely a keeper.


~~~~~~~~~~~~

Chocolate Frosting
Makes enough to ice 2 - 9" x 13" cakes or a 2-layer cake

  • 1/2 cup (1 stick) of butter, softened
  • 2/3 cup baking cocoa
  • 3 cups powdered sugar
  • 1/3 cup milk
  • 2 tbsp. brewed coffee
  • 1 tbsp. vanilla

Mix the butter, coffee, vanilla, and cocoa until blended.  Add in sugar and milk, alternating between the two as you mix on medium speed.  Then mix on medium-high for 2 minutes.  Spread the frosting on your cake. 

Tuesday, February 14, 2012

Valentine's Day 2012

This year my daughter and I planned ahead for Valentine's Day.  She was supposed to take some treats to share at her school party, so we pulled out an old favorite and updated it.  A few years ago we made pretzel sticks dipped in chocolate and fancy Valentine sprinkles.


This year my little munchkin decided that the traditional pretzel shape is so much more appropriate because it looks like a heart.


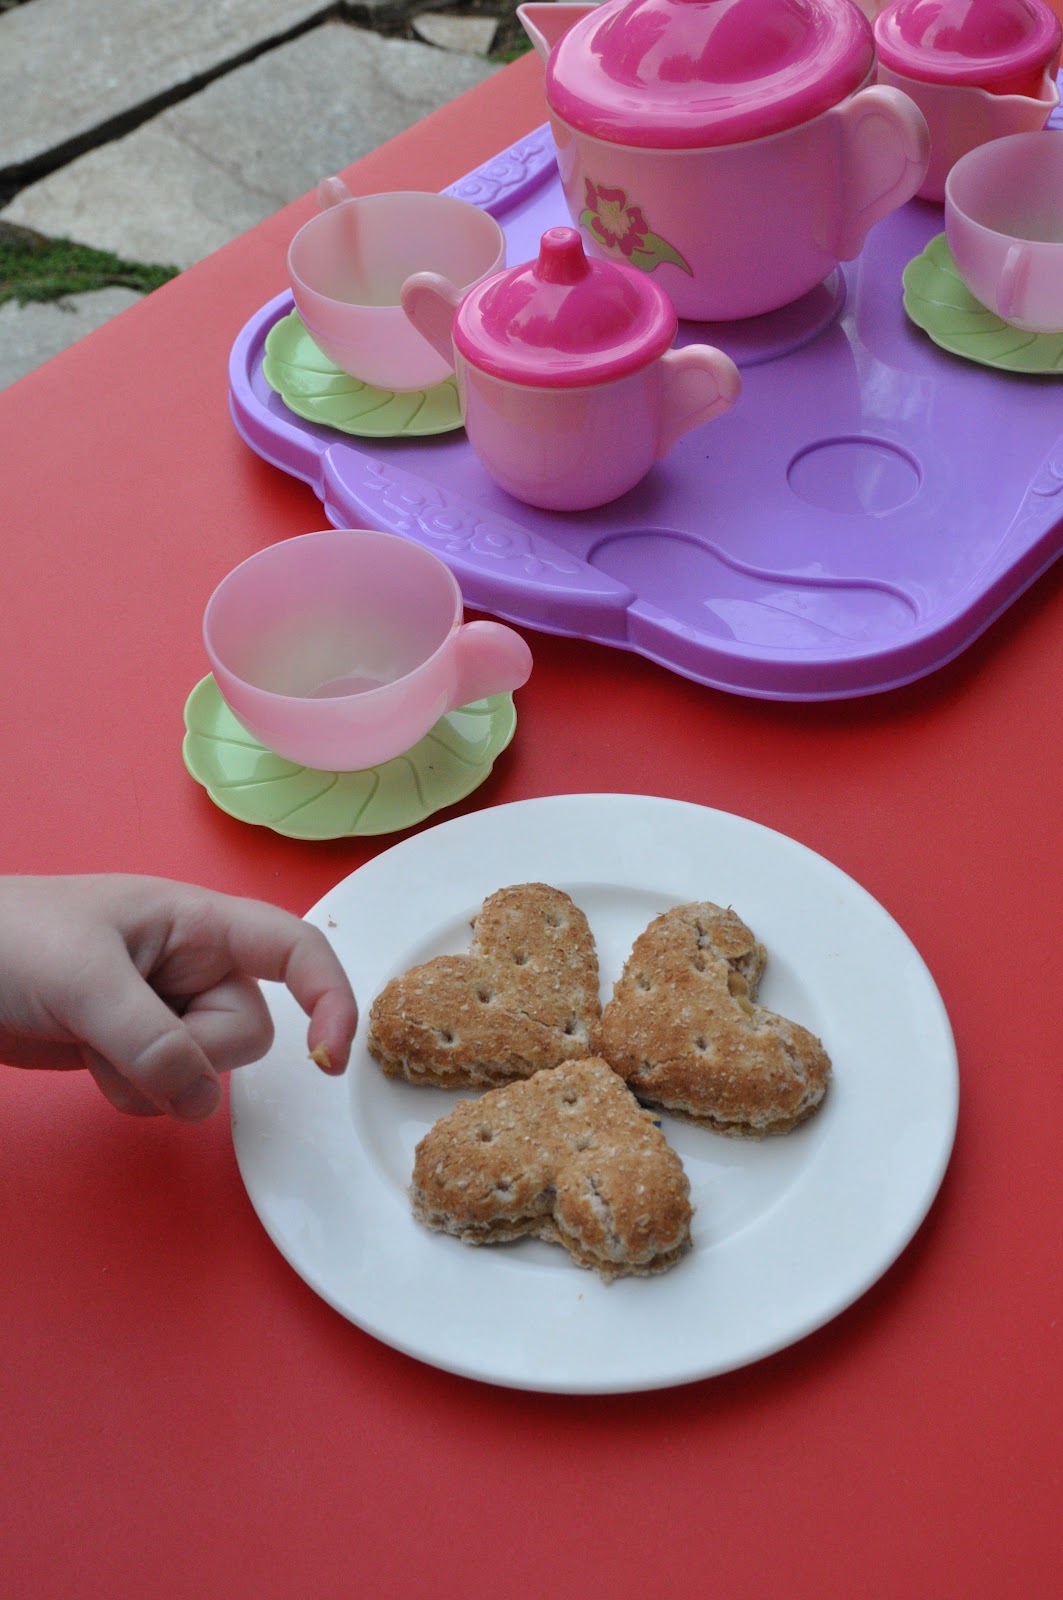
This morning she headed to school with a tray full of treats to share with her friends and teachers.  She probably doesn't know it yet, but I also sent her some of these peanut butter sandwich hearts for her snack.  Cute, right?


But back to the pretzels . . .  If you feel like sharing some chocolate with your honey (big or small), these are super easy to make.


Chocolate Covered Pretzels
  • 1 tsp. canola oil
  • 1 cup chocolate chips (I prefer dark chocolate)
  • About 35-40 pretzels  (I used lightly salted)
  • Sprinkles

Place the oil and chocolate chips in a microwave-safe bowl, and put the bowl in the microwave.  Microwave on high for forty-five seconds, then stir well.  Repeat several times until the chocolate is completely melted.

Add several pretzels at a time to the bowl, submerging them in the chocolate.  Lift the pretzels out one at a time with a fork.  Place the pretzels on a cooling rack sitting over a tray so that the excess chocolate can drip off.  Sprinkle the pretzels with sprinkles, if using, within a few minutes while the chocolate is still moist.

Once your tray is full, place it in the fridge for about 30 minutes to set.  After the chocolate has hardened, carefully lift each pretzel off the rack one-by-one by reaching underneath the pretzel with your fingers and gently dislodging it from the rack.  Be careful as you do this last step, as some of the pretzels may break.  (I made extra for this reason.  We kept the broken ones to munch on at home and sent the pretty ones to share at school.)

Related Posts with Thumbnails

  © Blogger template 'A Click Apart' by Ourblogtemplates.com 2008

Back to TOP